ARRAY — Arrays
 Ribbon: Draw ▸ Modify ▸ ▾ next to Array ▸ Rectangular / Path / Polar Array; Edit ArrayCommand:
ARRAYRECT ARRAYPOLAR ARRAYPATH ARRAYEDIT
ARRAY multiplies an object into many evenly spaced copies: in rows and columns (Rectangular), around a centre (Polar) or along a path (Path). The array is associative: you can later change the count with Edit Array without redrawing.
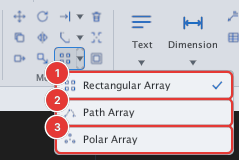
Rectangular array (ARRAYRECT)
Use it to lay out drill holes, columns, chairs… in a grid.
- Select first the object to multiply (this command does not ask you to select). If nothing is selected the command line says
Select object(s) first, then run ARRAYRECT. - Click Rectangular Array (or type
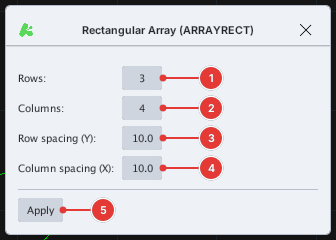
ARRAYRECT). The Rectangular Array dialog opens. - Set Rows 1 (number of rows), Columns 2 (number of columns), Row spacing (Y) 3 and Column spacing (X) 4. The defaults are 3 rows × 4 columns, spacing 10.
- Click Apply 5. The dialog closes and the array is created.
Before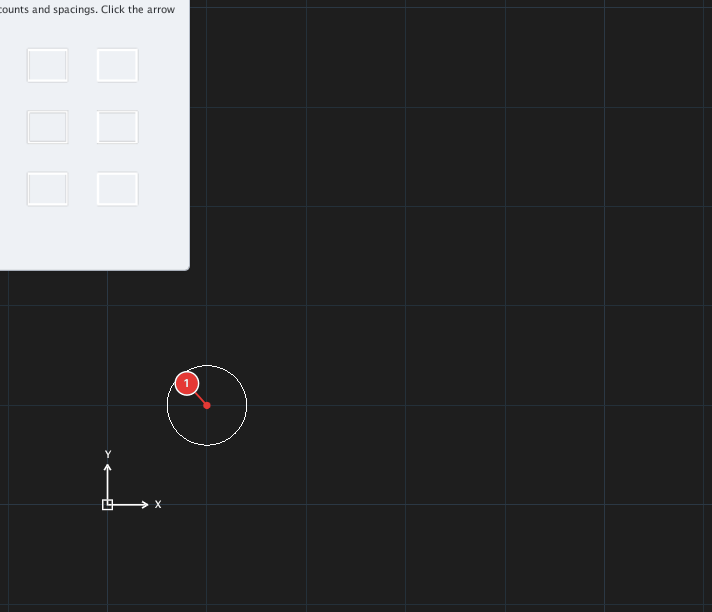
→
After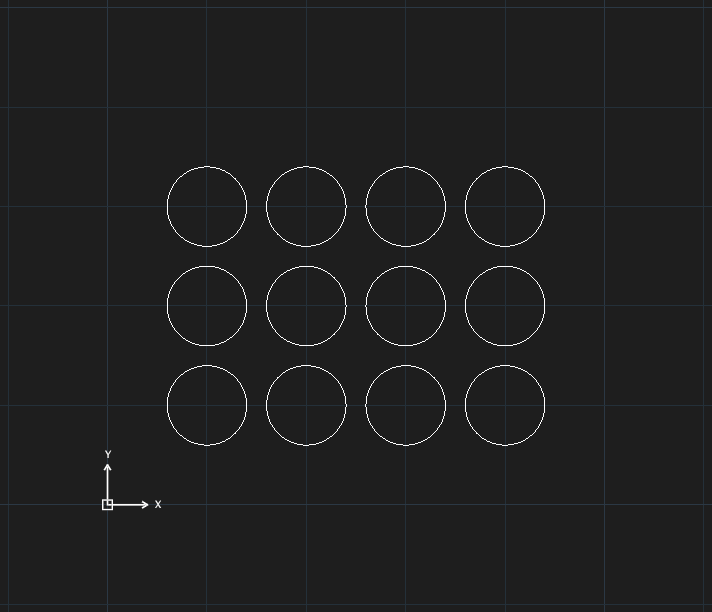
Polar array (ARRAYPOLAR)
Use it to place bolts around a flange, chairs around a table…
- Select first the object. Click Polar Array (or type
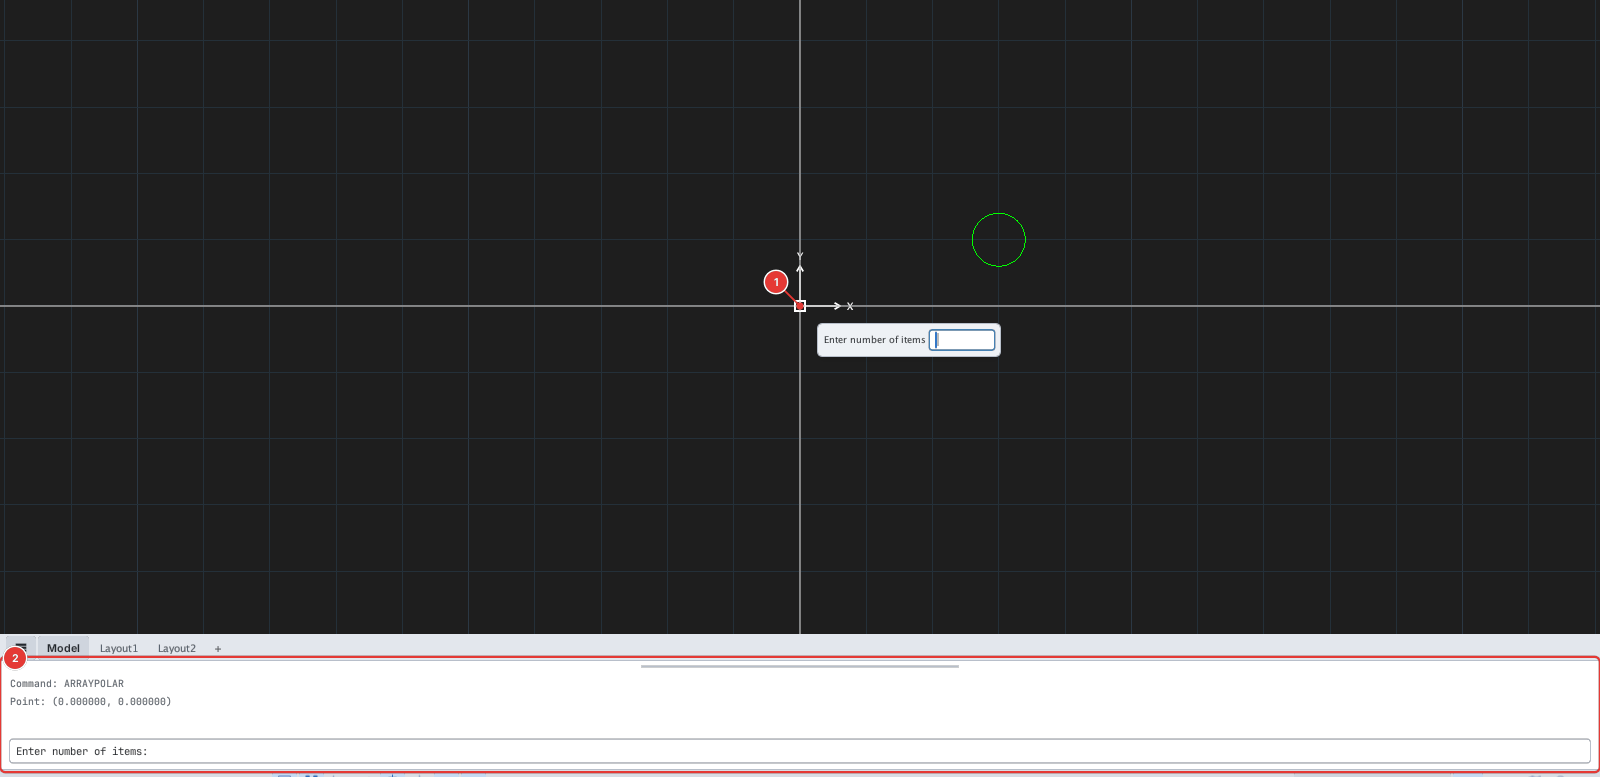
ARRAYPOLAR). The prompt readsSpecify center point. - Click the centre of the array 1, or type its coordinates and press Enter.
- An input box appears by the cursor:
Enter number of items. Type the number of items (including the original), for example6, Enter. The items are spread evenly through the full 360° around the centre.
Before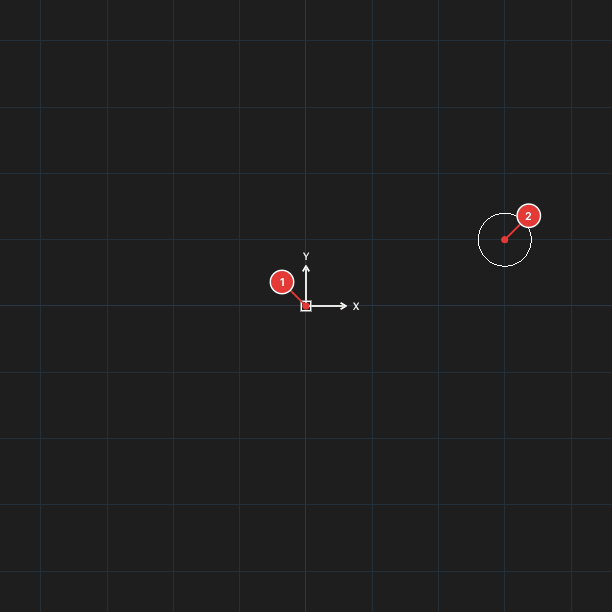
→
After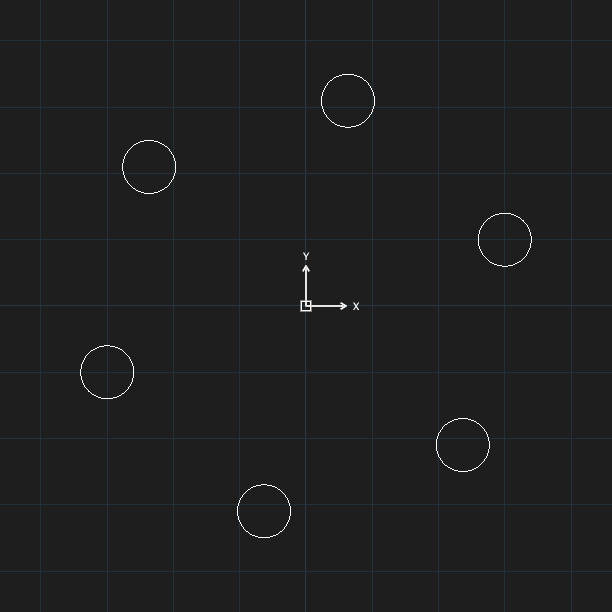
Path array (ARRAYPATH)
Use it to place lamp posts or trees along a road.
- Select first the object and put it at the start of the path (the first item sits at the path's start). Click Path Array (or type
ARRAYPATH). The prompt readsSelect the path curve for the array. - Click the path 2 (a different object from the selected one).
- Type the number of items along the path, for example
5, Enter. The items are spread evenly from the start to the end of the path.
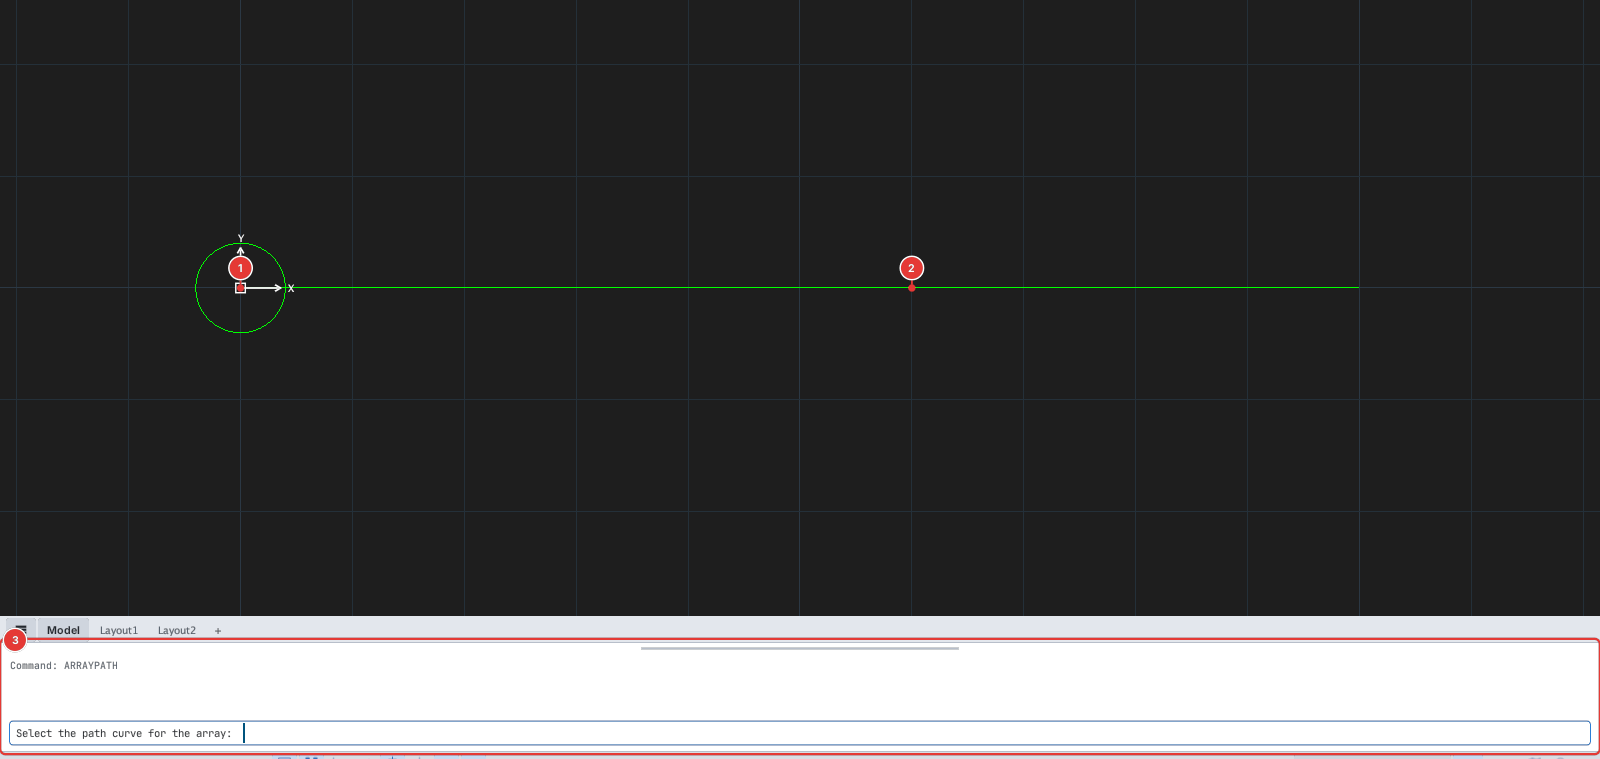
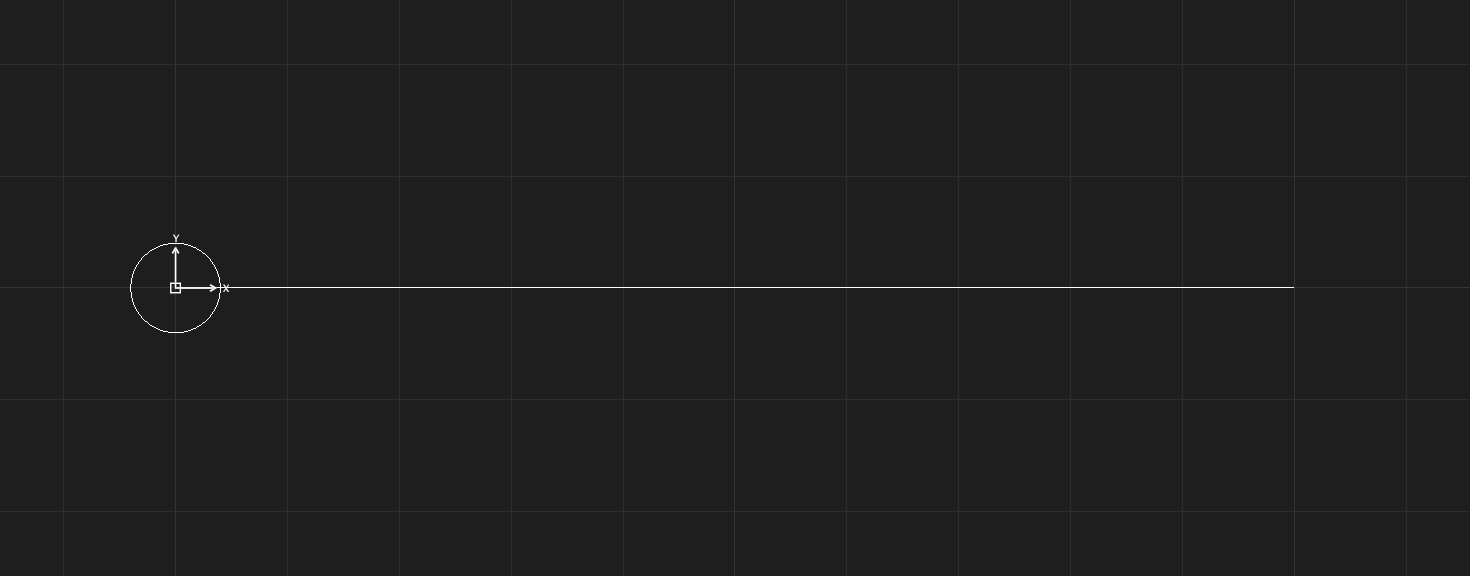
The path can be a line, a polyline (bends included), an arc or a spline: the items always sit on the path, evenly spaced along its length.
Editing an array (ARRAYEDIT)
- Click one item of the array to select it.
- Click Edit Array (slide-out part of the Modify panel), or type
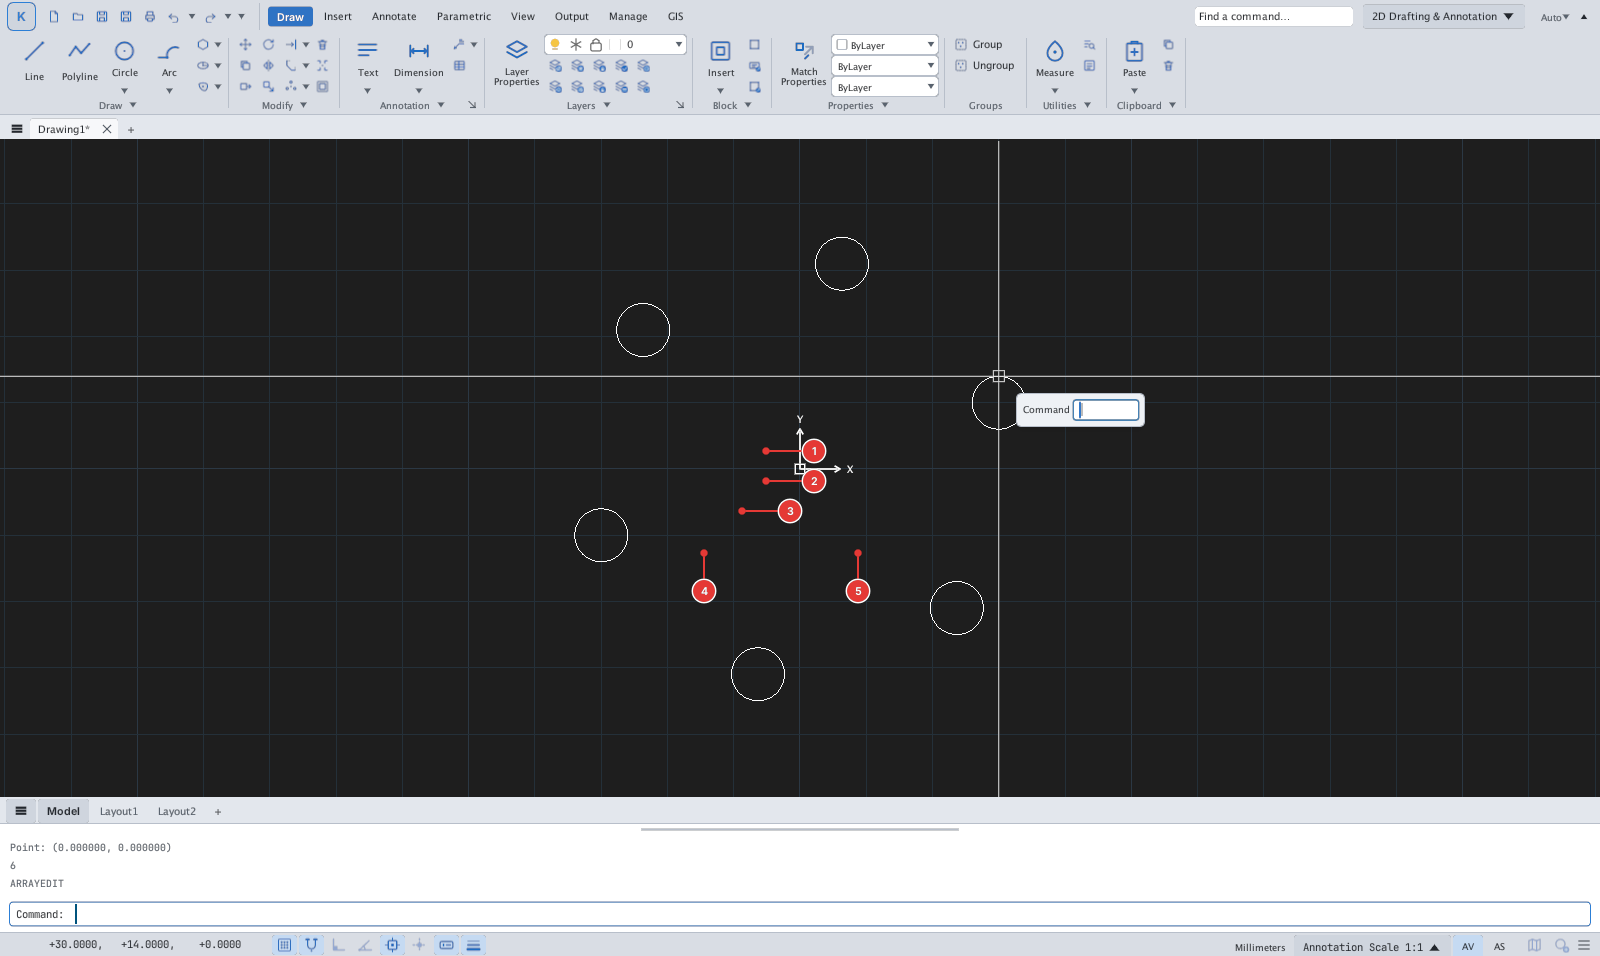
ARRAYEDIT. An edit dialog opens, depending on the array type (Rect / Polar / Path). - Change the parameters (count, spacing, angle…) and click Update. Click Explode (drop association) if you want the array to become independent objects with no association.
Notes
- The rows and columns of a rectangular array follow the X and Y axes of the drawing.
- Each creation or edit of an array is one undo step.