PEDIT — Edit polylines
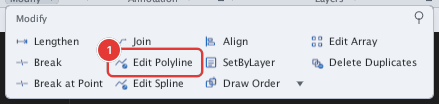
 Ribbon: Draw ▸ Modify ▸ slide-out ▸ Edit PolylineCommand:
PEDITAlias: PE
PEDIT edits one polyline: close / open, reverse, change the width, edit vertices, smooth it with arcs (Fit) or turn it into a spline (Spline), and return it to straight segments (Decurve).
Running PEDIT
- Click Edit Polyline, or type
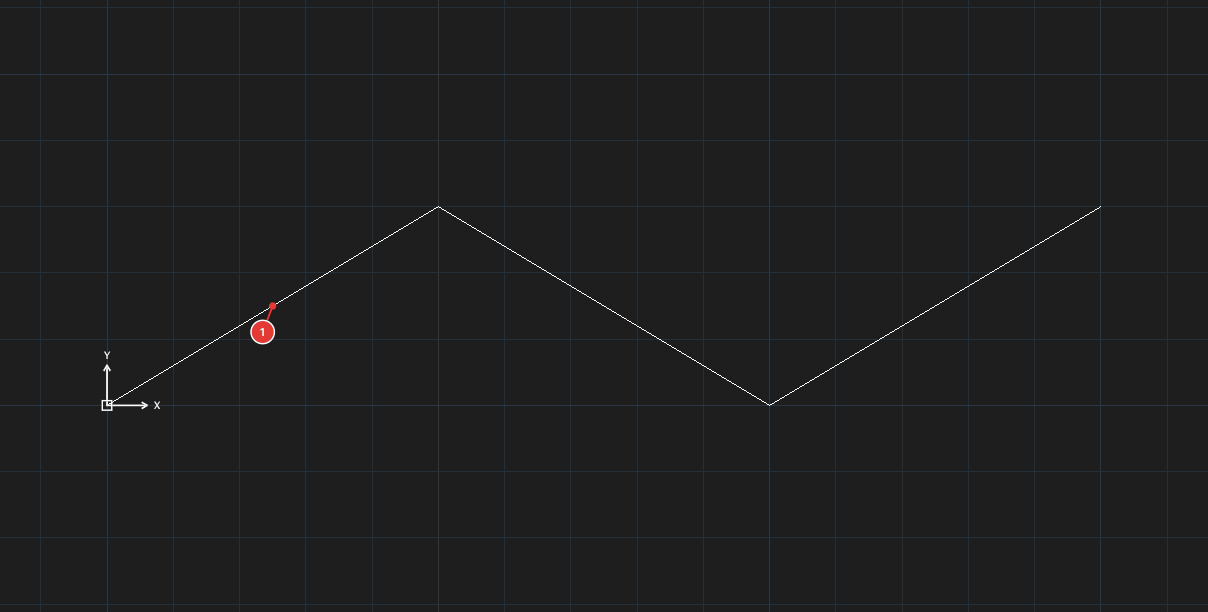
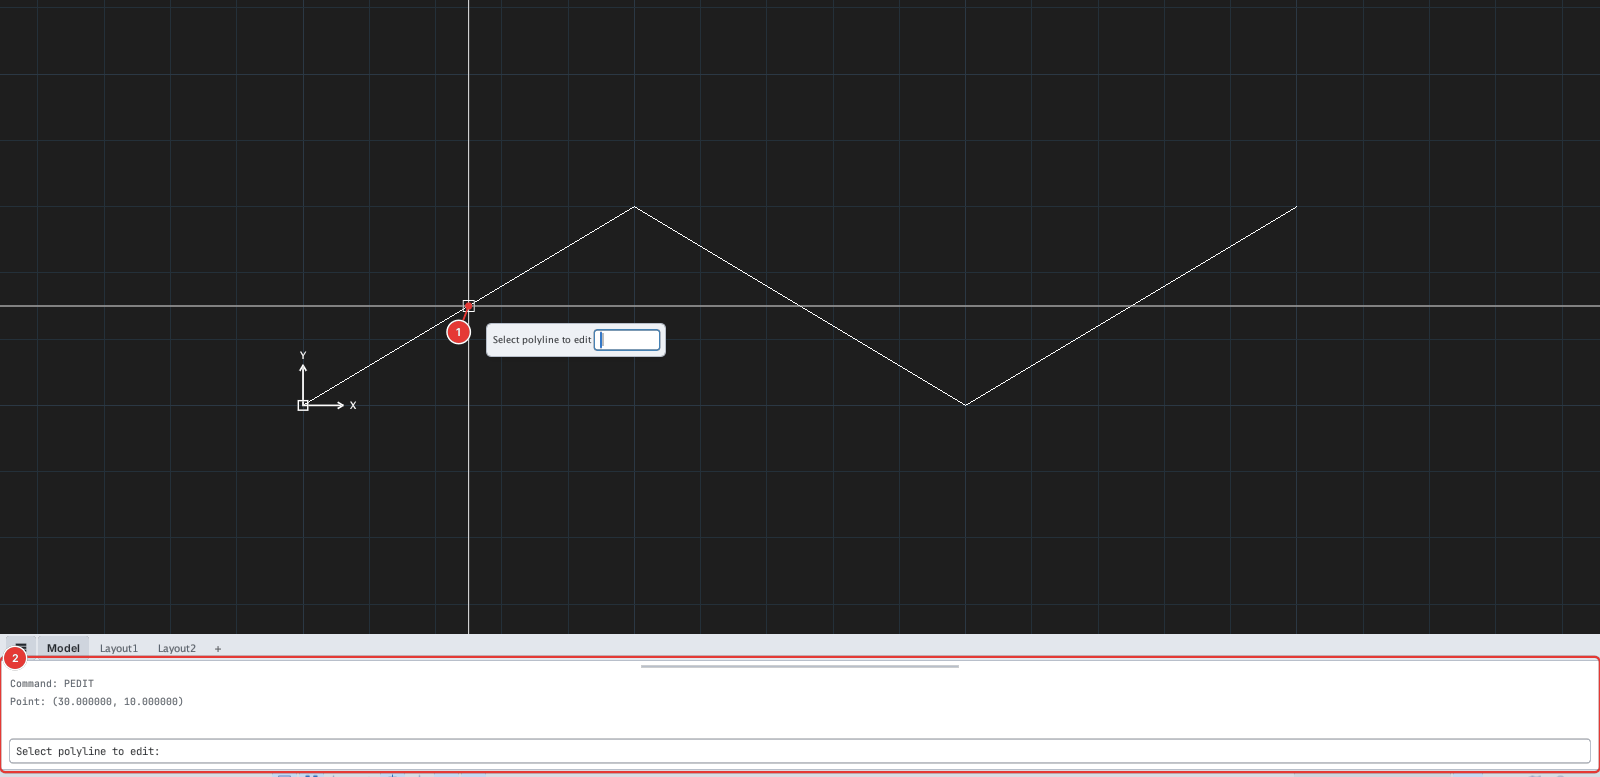
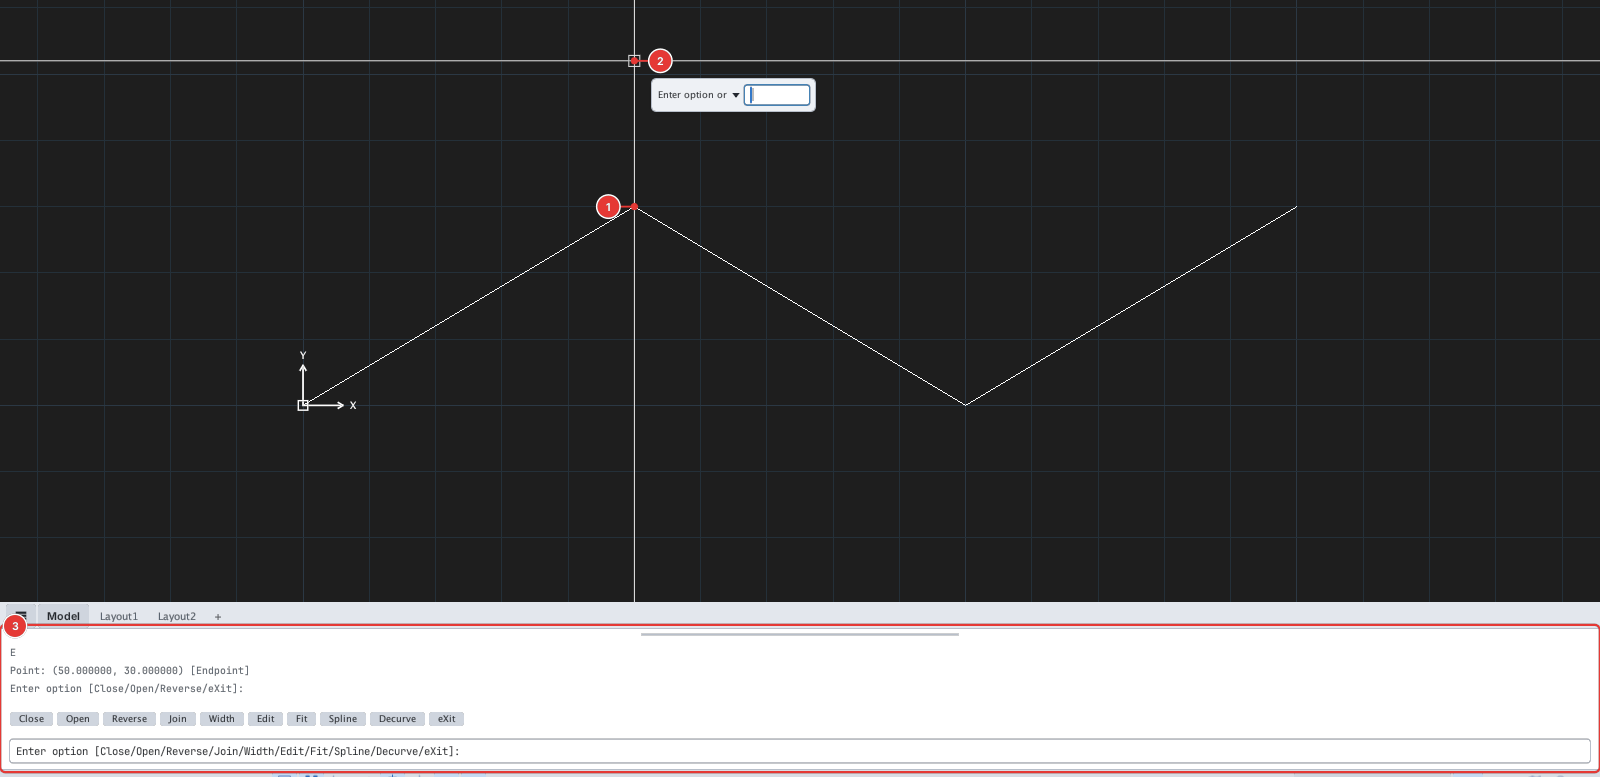
PE, Enter. The prompt readsSelect polyline to edit. - Click the polyline 1. The command accepts polylines only (a rectangle is a polyline too); lines and arcs are not converted to polylines automatically — use JOIN for that.
- The prompt shows the option list 2. Type a letter and press Enter; the command returns to this list after each option until you type
X(eXit).
Options
| Type | Option | Effect |
|---|---|---|
C | Close | Close the polyline: join the last vertex back to the first. |
O | Open | Re-open a closed polyline. |
R | Reverse | Reverse the vertex order (start becomes end). |
J | Join | Joins lines, arcs and polylines that touch its ends: select them and press Enter (the same joining as JOIN). |
W | Width | Set one constant width for the whole polyline (type a number after W). |
E | Edit vertex | Edit single vertices (see below). |
F | Fit | Smooth it with arcs passing through every vertex. |
S | Spline | Turn the polyline into a spline through its vertices; the command ends. |
D | Decurve | Remove the curvature, turning arcs back into straight segments between vertices. |
X | eXit | End the command. |
Changing the width
Type W, Enter, then the width, for example 6, Enter. The prompt reads Specify constant width for the polyline.
Before
→
After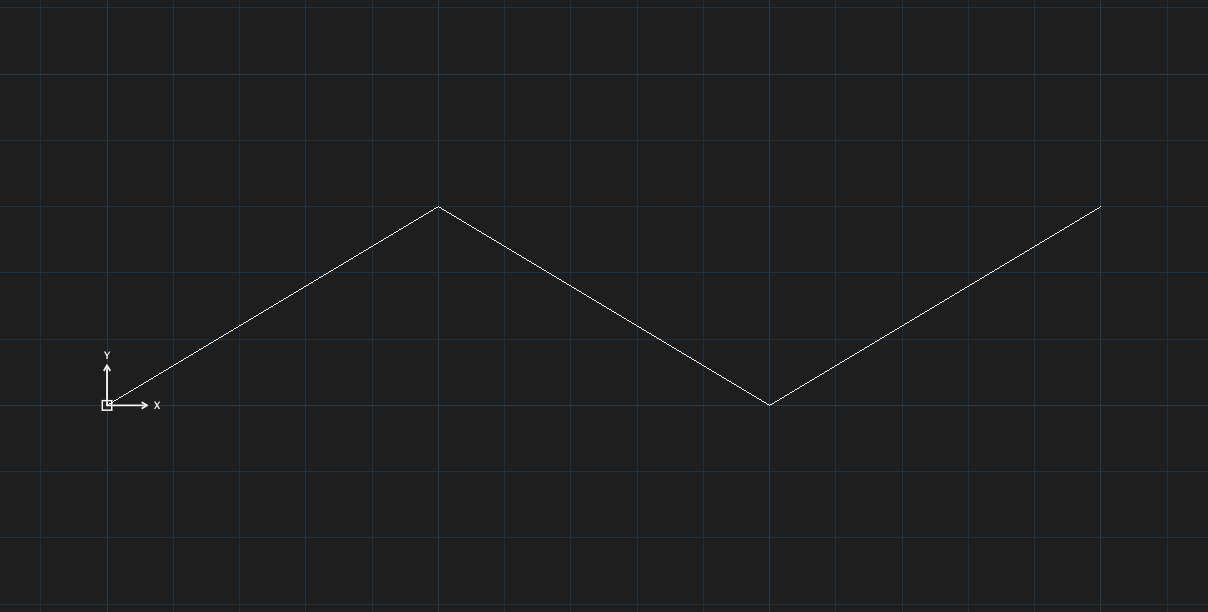
W 6: the polyline is 6 units wide.Fit — smoothing with arcs
Type F, Enter. Each straight segment becomes an arc joining two vertices, so the curve passes through every vertex. D (Decurve) turns it back into straight segments.
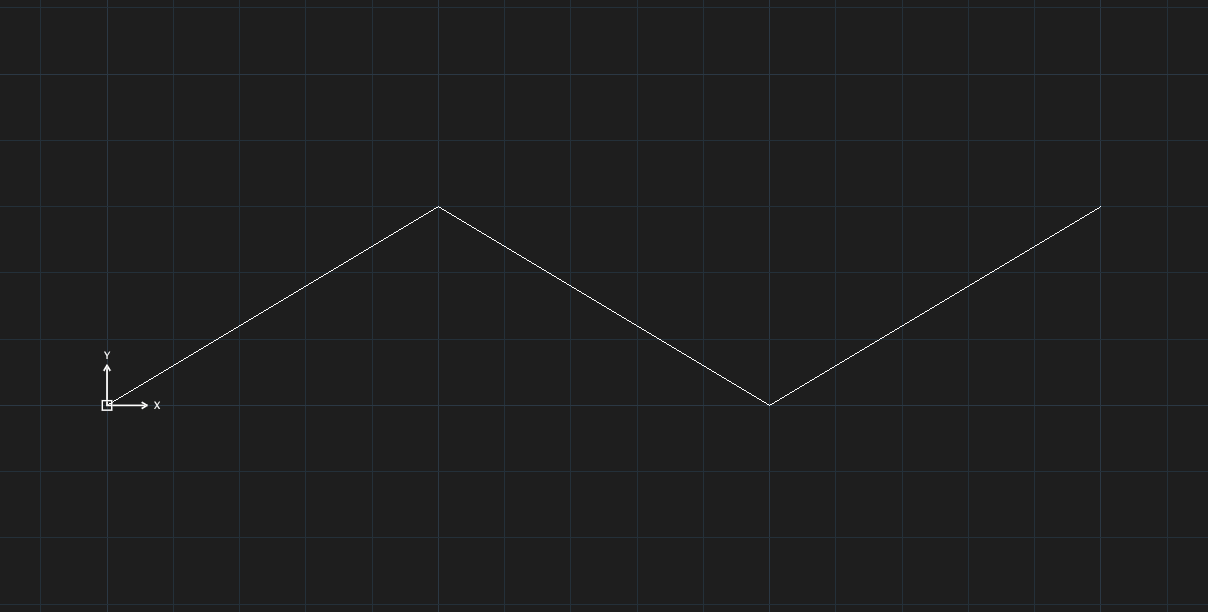
F then X: arcs joining the vertices of the original polyline.Spline — a smooth curve
Type S, Enter. The polyline is replaced by a spline through its vertices and the command ends. The result is no longer a polyline; keep editing it with SPLINEDIT.
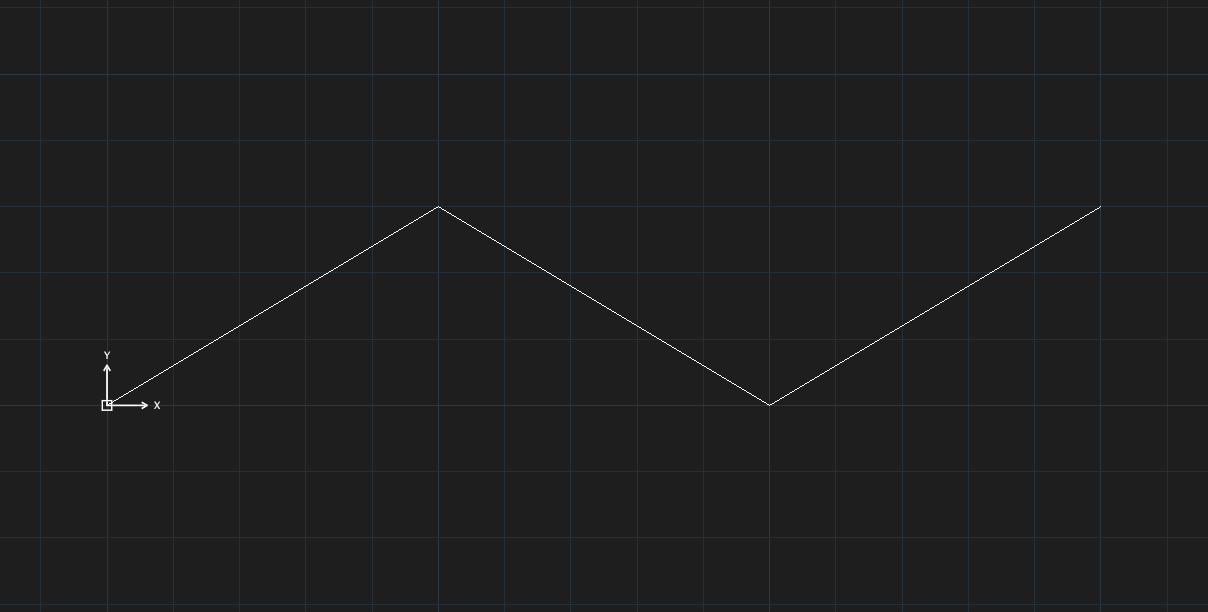
S: a smooth curve through the four vertices (selected, shown green).Edit vertex — editing single vertices
- Type
E, Enter. The prompt readsPEDIT vertex: click a vertex to move [Insert/Delete/eXit]. - Click the vertex to move 1. The prompt reads
click the new location. - Click the new position 2: the vertex moves there and the adjoining edges follow. The prompt returns to step 1 so you can edit another vertex.
I(Insert): click a point on a segment to add a vertex.D(Delete): click a vertex to remove it.Xreturns to the option list.
Notes
- PEDIT edits one polyline at a time; there is no multiple-selection mode (
Multiple) yet. - Each run of PEDIT is one undo step.