ARC — Arc
 Ribbon: Draw ▸ Draw ▸ Arc (nút có mũi tên ▾ để chọn kiểu)Command:
ARCAlias: A
Arcs are drawn counter-clockwise (from the start point to the end point). The Arc button draws a 3-point arc; the ▾ arrow opens the list of methods.
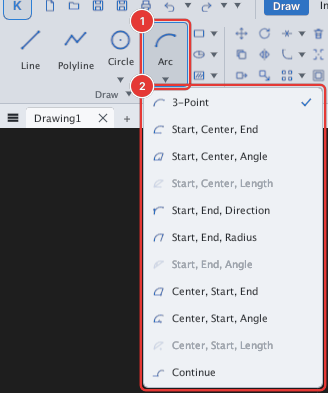
| List item | Command | Points / values to enter |
|---|---|---|
| 3-Point | ARC | start point, second point, end point |
| Start, Center, End | ARC_SCE | start point, centre, end point |
| Start, Center, Angle | ARC_SCA | start point, centre, included angle |
| Start, End, Direction | ARC_SED | start point, end point, tangent direction at the start |
| Start, End, Radius | ARC_SER | start point, end point, radius |
| Center, Start, End | ARC_CSE | centre, start point, end point |
| Center, Start, Angle | ARC_CSA | centre, start point, included angle |
| Continue | ARC_CONT | end point (tangent to the previously drawn object) |
3-Point
Prompts: Specify start point of arc or [Center/CONtinue]: → Specify second point of arc or [Center/End]: → Specify end point of arc:.
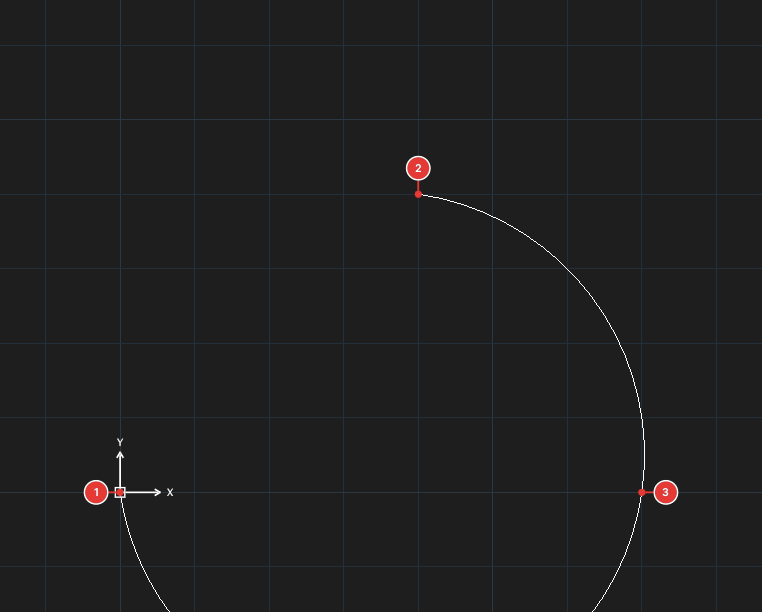
Start, Center, End
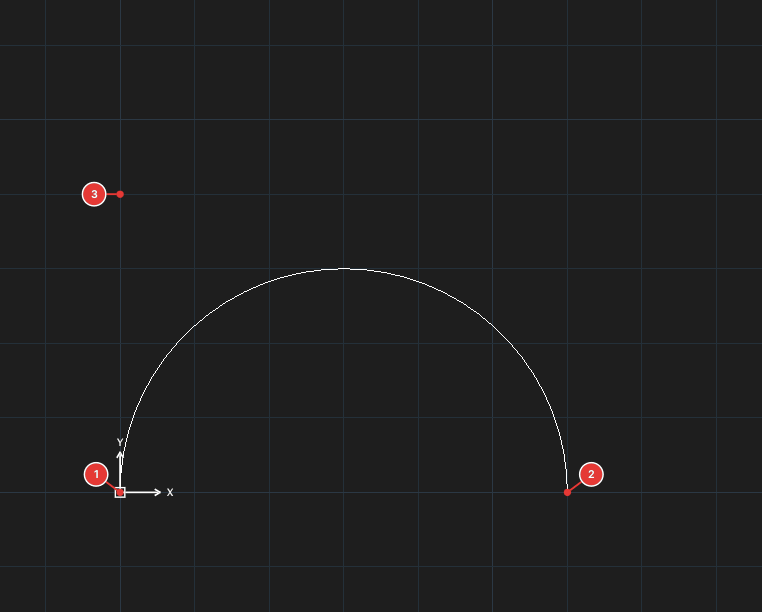
Click the start point 1, the centre 2, then the end point 3. The end point only gives the finishing direction: the arc stops on the ray from the centre through that point.
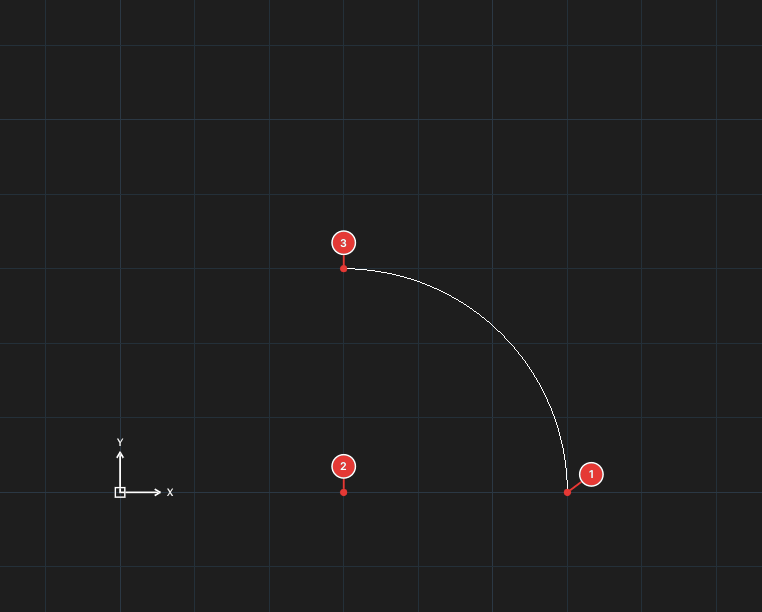
Start, Center, Angle
After the start point and centre, the prompt Specify end point or type included angle: accepts an included angle (for example 90).
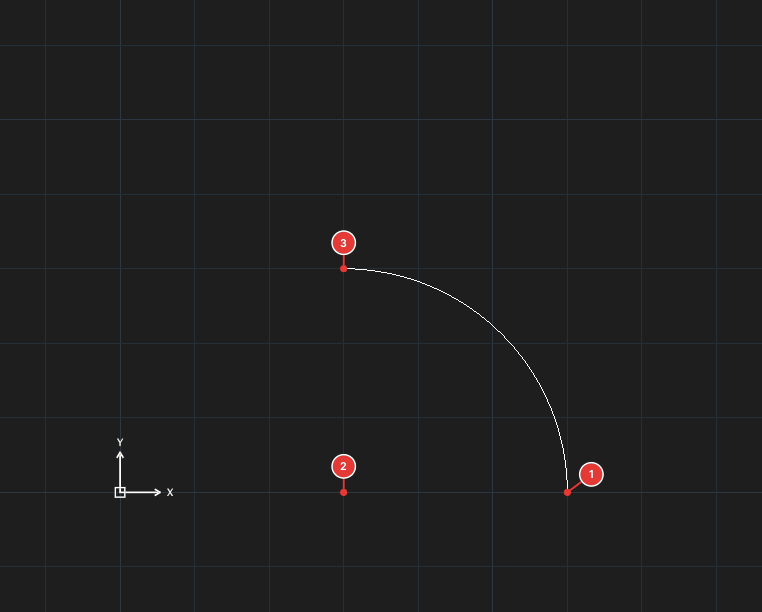
Start, End, Direction and Start, End, Radius
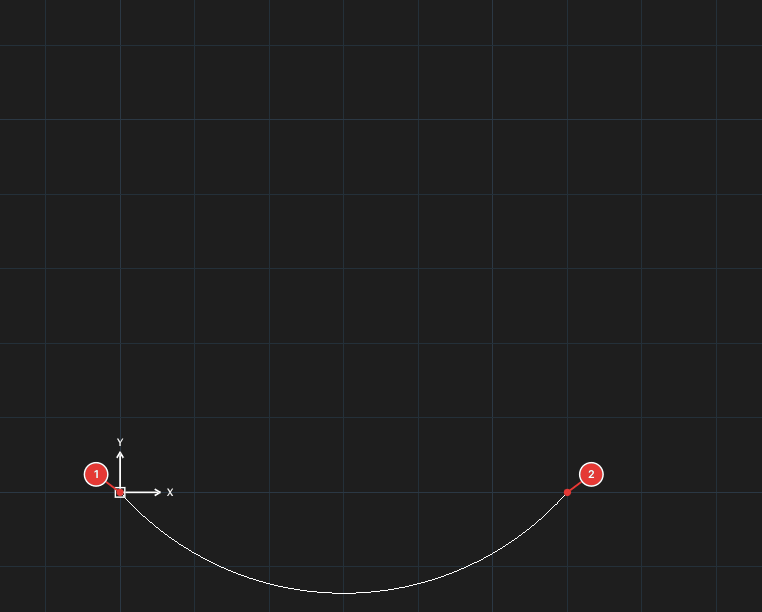
With Start, End, Direction, after the two points click a point to give the tangent direction at the start. With Start, End, Radius, type the radius.
Center, Start, End and Center, Start, Angle
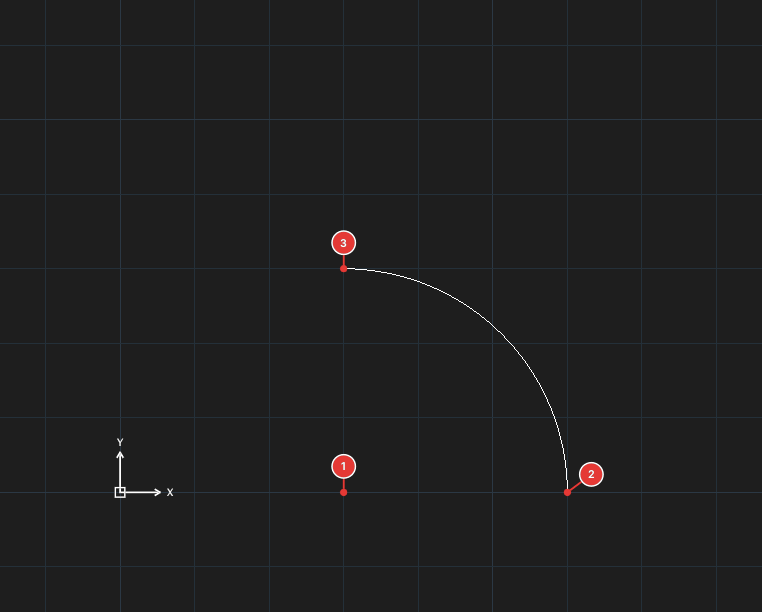
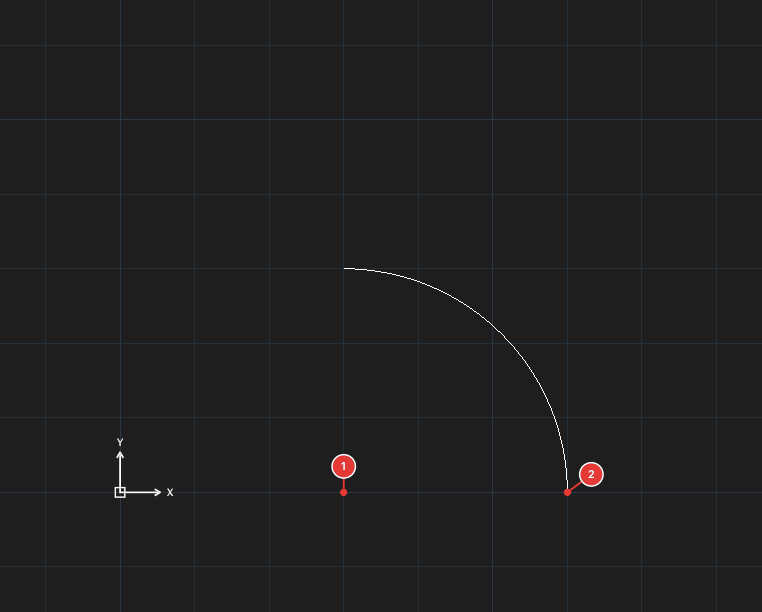
Click the centre 1, the start point 2, then the end point 3 (or type the angle for the Angle method).
Continue
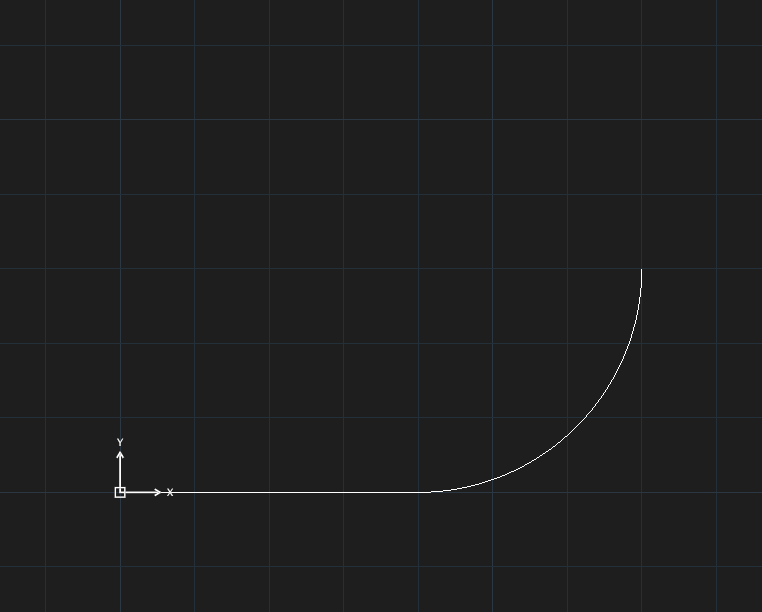
Choose Continue right after drawing a line or an arc: the new arc starts at that end point and is tangent to it; you only pick the end point.
Every method accepts both mouse clicks and typed coordinates. With the generic ARC command, after the start point and E (End), type A (included angle), D (tangent direction at the start) or R (radius) and then the value, for example ARC → 0,0 → E → #60,0 → R → 40.