SPLINE — Spline curve
 Ribbon: Draw ▸ Draw ▸ (slide-out) SplineCommand:
SPLINEAlias: SPL
SPLINE draws a smooth curve that passes through the points you pick (fit points). Its button is in the slide-out of the Draw panel: click the ▾ arrow on the panel title.
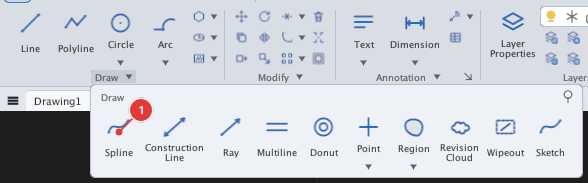
Steps
- Click Spline or type
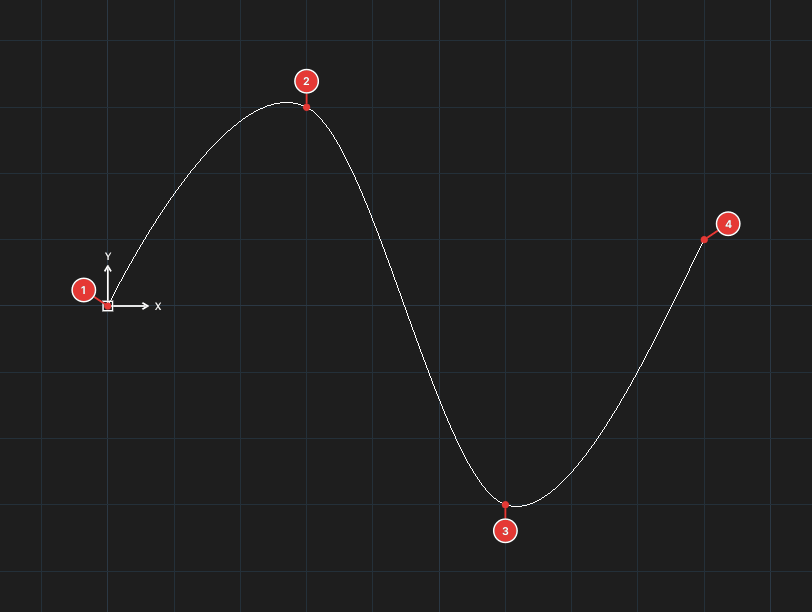
SPL, Enter. Prompt:Specify first point or [Object]:. - Click points 1, 2, 3 (
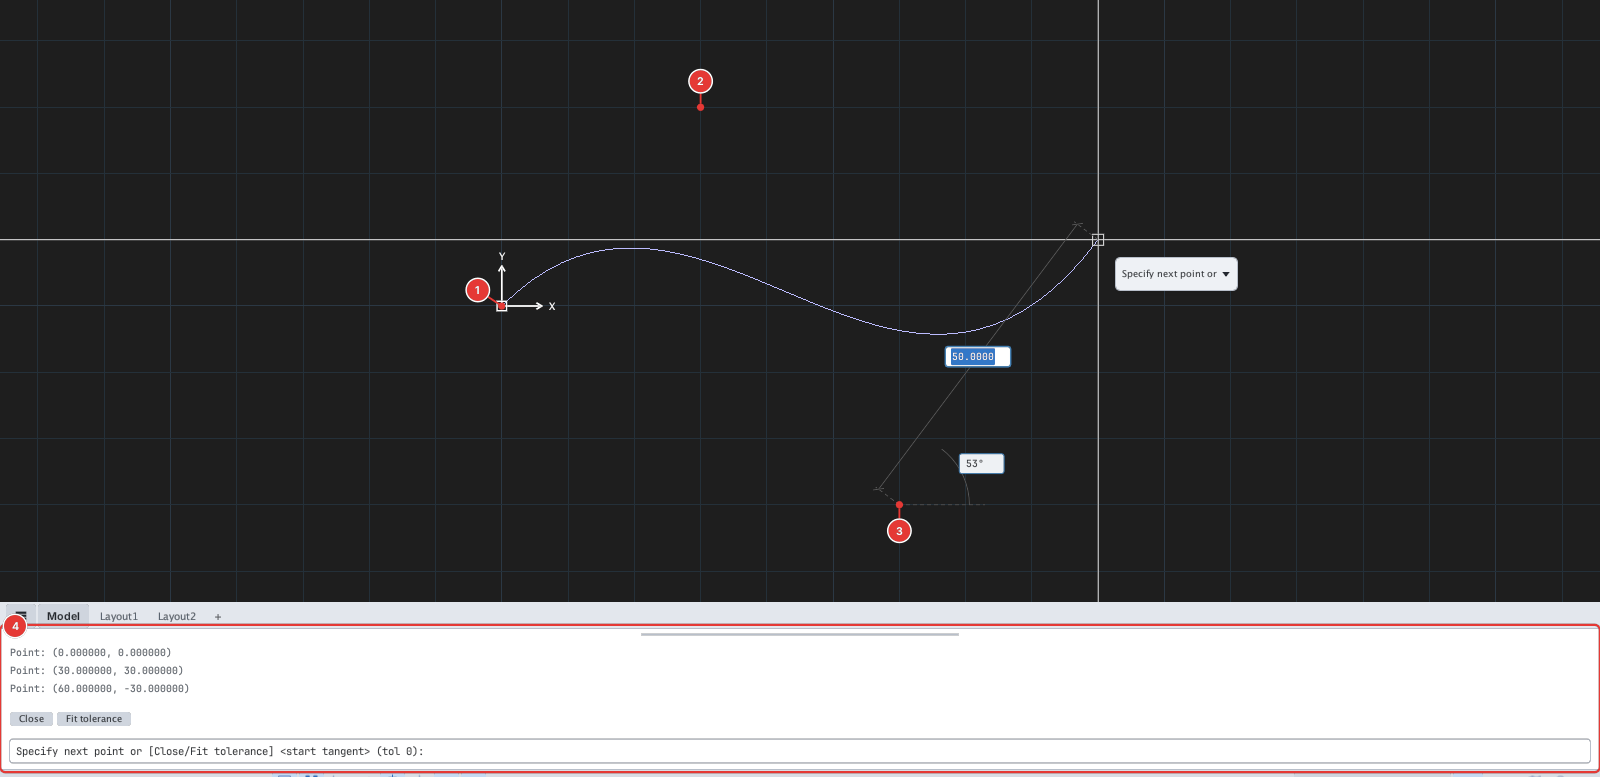
Specify next point or [Close/Fit tolerance] <start tangent> (tol 0):). - Press Enter to stop picking points. The command line asks for the start tangent (
Specify start tangent <auto>:) then the end tangent (Specify end tangent <auto>:): click a point to give each direction, or press Enter (right-click) to accept the automatic direction<auto>.
Options
| Type | Option | What it does |
|---|---|---|
C | Close | Closes the spline into a loop and finishes. |
F | Fit tolerance | Enter the fit tolerance (0 = pass exactly through the points). |
O | Object | Converts a (spline-fitted) polyline into a spline. |
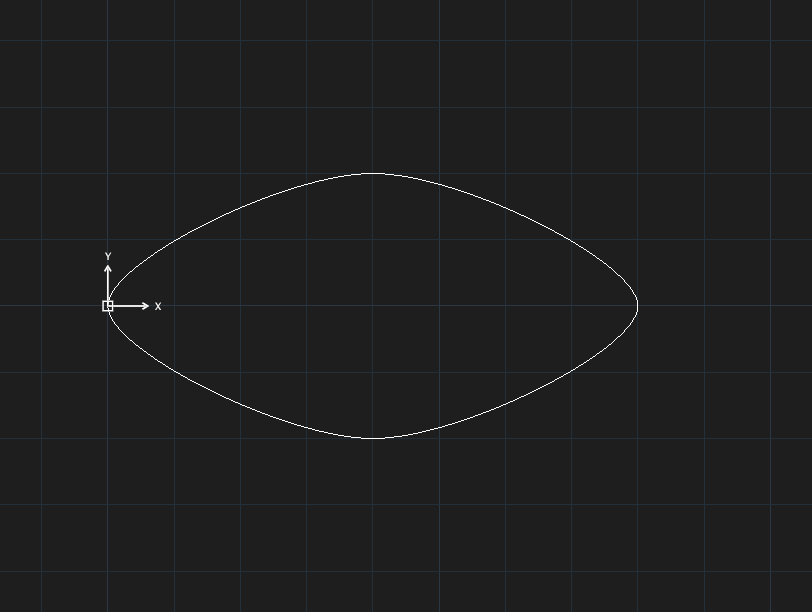
C: SPL, 0,0, #40,20, #80,0, #40,-20, C.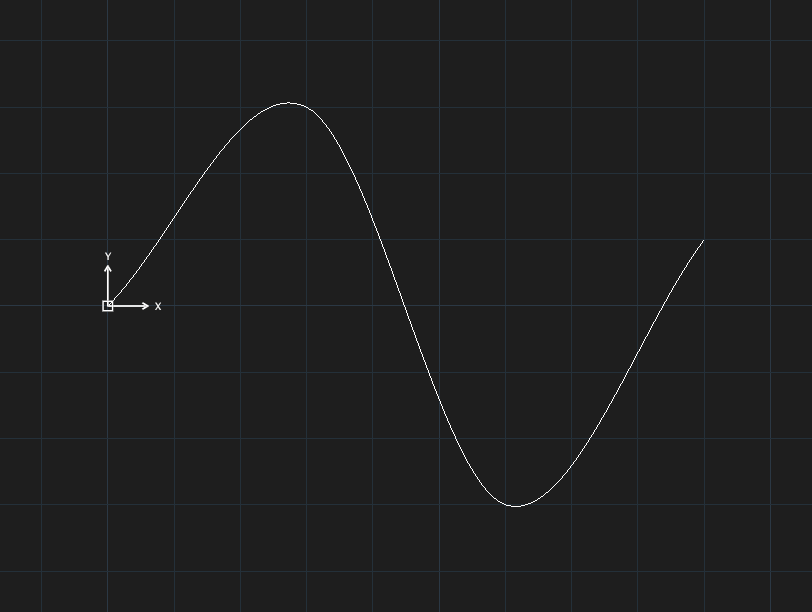
SPL, O, then click a polyline: the polyline becomes a spline through its vertices.For now Enter (and right-click) does not accept the default <auto> tangent; click a direction with the mouse, or use C. Splines made by this command use the fit point method only; there is no control-vertex (CV) mode. After drawing, adjust with grips or SPLINEDIT (chapter 6).