Transparency
 Ribbon: Draw ▸ Properties ▸ slide-out ▸ TransparencyCommand:
CETRANSPARENCY
Transparency lets you see through filled objects (solid hatch) to the linework beneath. 0 is opaque and 90 almost fully clear; or ByLayer to follow the layer.
Before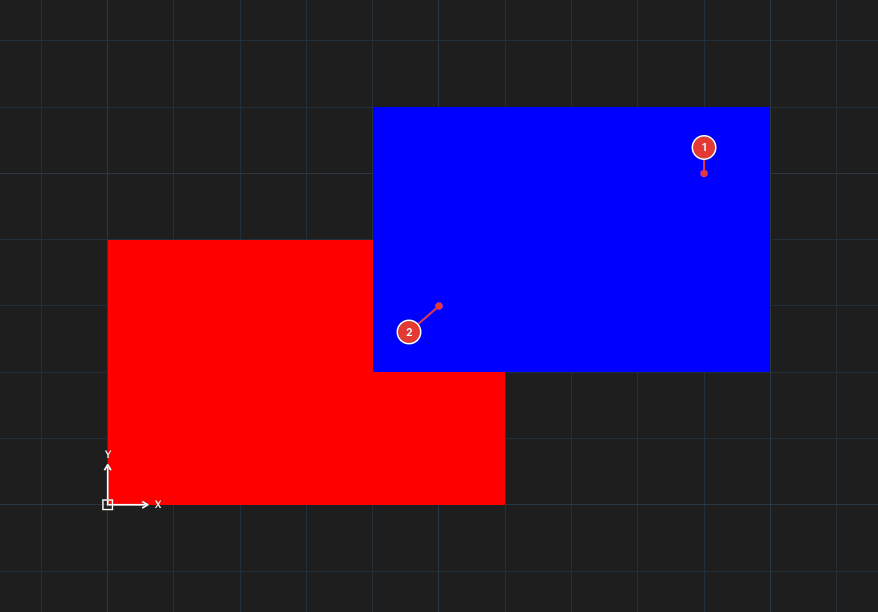
→
After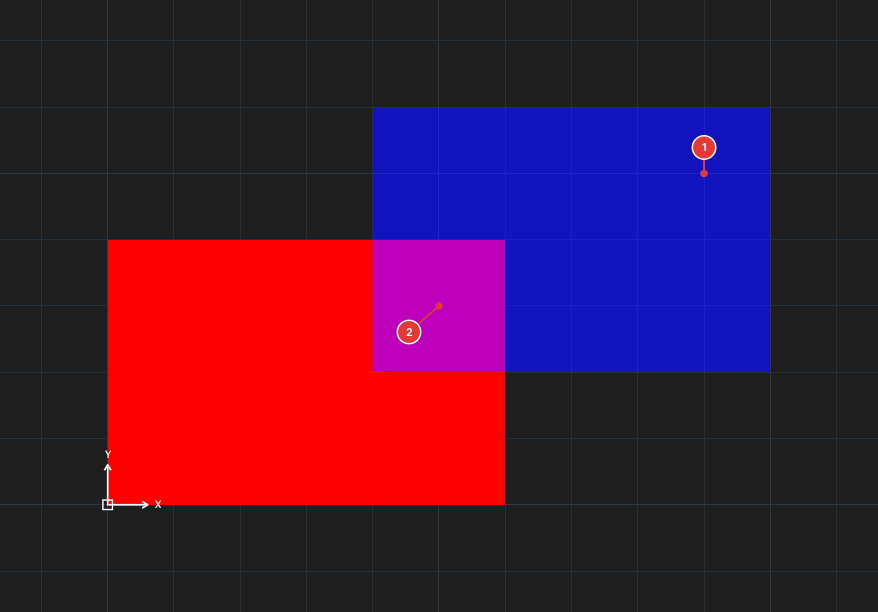
CHPROP ▸ T 50: the blue hatch becomes 50% transparent, the part over the red hatch blends to purple and the background grid shows through.Setting transparency
- For selected objects: the Transparency row in the Properties palette, or
CHPROPthen typeT 50(CHPROP).T bylayerreturns it to the layer's value. - For a layer: the Transp. column of the layer manager.
- For objects you will draw: the
CETRANSPARENCYcommand — promptCurrent transparency (0-90, or ByLayer), type a number orByLayer. There is also a Transparency box in the slide-out part of the Properties panel.

CETRANSPARENCY: the command line 1 asks for the transparency of objects you will draw.Notes
- Transparent objects are blended with everything drawn beneath them (lines, fills, grid). Transparent fills are drawn after the opaque fills and transparent lines after the opaque lines — as in AutoCAD when the transparent object is on top of the draw order.
- A selected object is shown opaque (in the selection colour) so it stands out; deselect it to see it transparent again.
- Transparency applies to the screen display only; plots / PDF currently draw it opaque.