On the left are the cursor coordinates and the drafting-mode buttons; on the right the drawing units, annotation scale and utility buttons. A lit (blue) button is on.
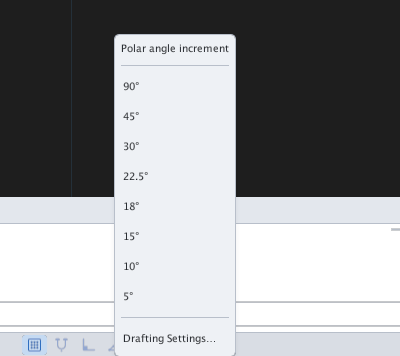
Track directions at an angle increment; right-click to pick the angle
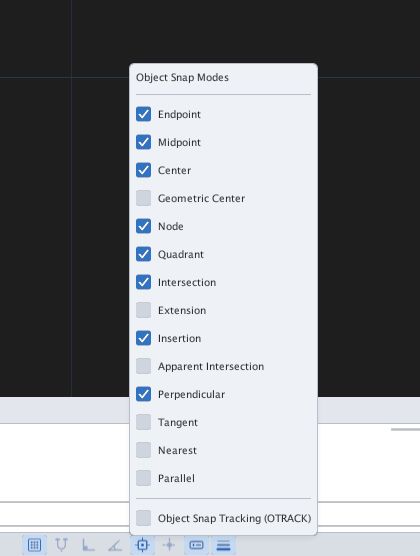
Osnap
Snap to special points; right-click to choose the modes. Key F3
Otrack
Track from acquired points
Dyn
Dynamic Input
Lwt
Show real lineweights
Figure 1.34 — Snap and Ortho switched on.
Right-click: Polar and Osnap
Figure 1.35 — Right-click Polar: the increments 90°, 45°, 30°, 22.5°, 18°, 15°, 10°, 5° and Drafting Settings….Figure 1.36 — Right-click Osnap: choose the snap modes (Endpoint, Midpoint, Center, Geometric Center, Node, Quadrant, Intersection, Extension, Insertion, Apparent Intersection, Perpendicular, Tangent, Nearest, Parallel) and Object Snap Tracking.
The right-hand side
Figure 1.37 — 1 drawing units (click to open UNITS); 2Annotation Scale; 3AV (show every annotative object); 4AS (add the scale automatically when it changes); 5 GIS basemap; 6Zoom Extents; 7 customize menu.
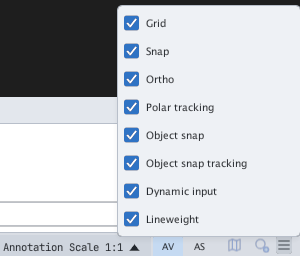
The ☰ button [[7]] opens a list to hide / show each mode button:
Figure 1.38 — Customizing the status bar.
The drafting aids themselves are covered in chapter 4.