Object Snap
Object Snap lets the cursor snap to geometric points of existing objects — end points, midpoints, centres, intersections… — so you draw with absolute accuracy without computing coordinates.
Turning it on / off and running snaps
- F3 or the Object Snap status-bar button 5: turn everything on / off.
- Right-click that button to open the menu of running object snaps.
- On by default: Endpoint, Midpoint, Center, Node, Quadrant, Intersection, Insertion, Perpendicular.
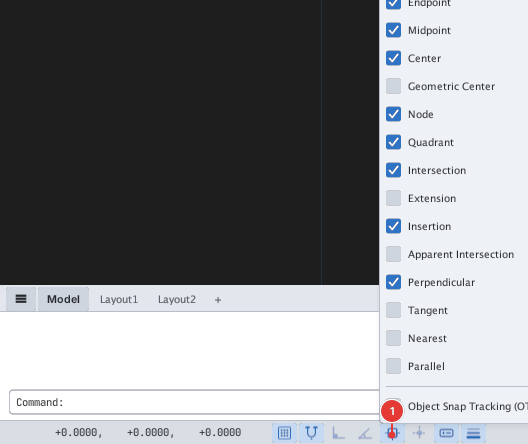
When the cursor nears a snap point a green marker appears with a label naming the mode; click then to take exactly that point.
The Drafting Settings dialog (Object Snap tab)
Type DS, then open the Object Snap tab:
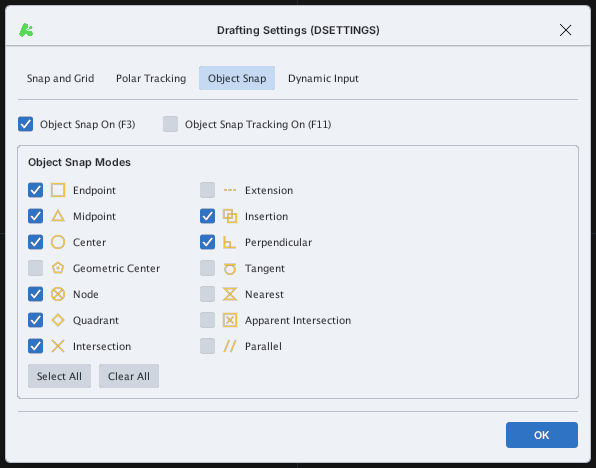
Besides the 13 modes there is also Geometric Center (the geometric centroid of a closed polyline).
Temporary overrides
To use a mode for one point only, type its three-letter name at a point prompt, then move to the object and click. The command line confirms with mid of, end of…
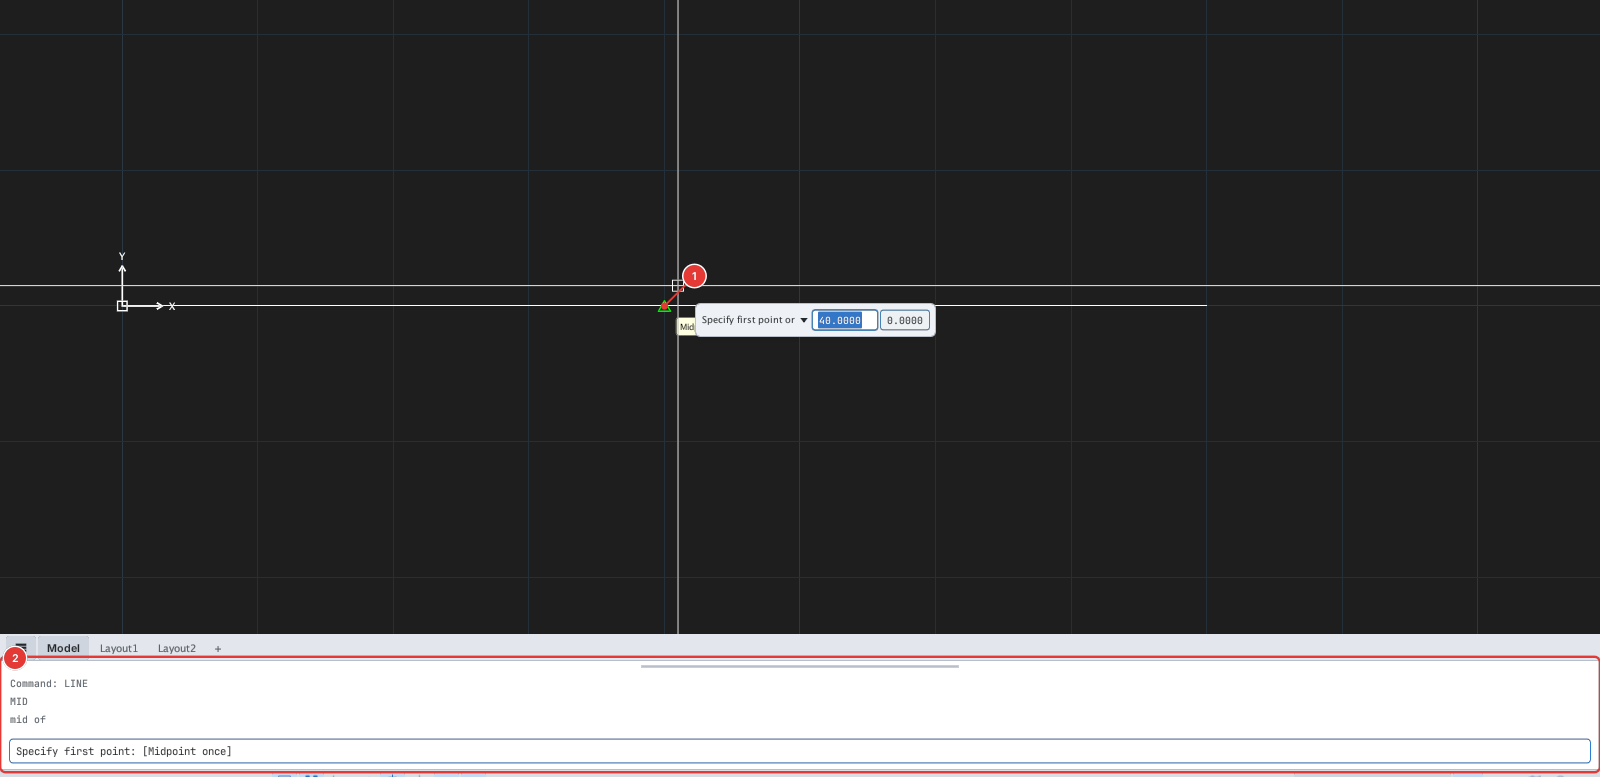
MID at the first-point prompt of LINE 2; the cursor snaps to the midpoint 1.You can also hold Shift and right-click on the canvas to open a temporary snap menu. Abbreviations: END, MID, CEN, NOD, QUA, INT, EXT, INS, PER, TAN, NEA, APP, PAR; plus FROM, M2P / MTP, .X, .Y (page "FROM, M2P and the .X .Y filters").
The modes
Endpoint (END)
Marker: Square. The end of a line, arc, polyline, spline…
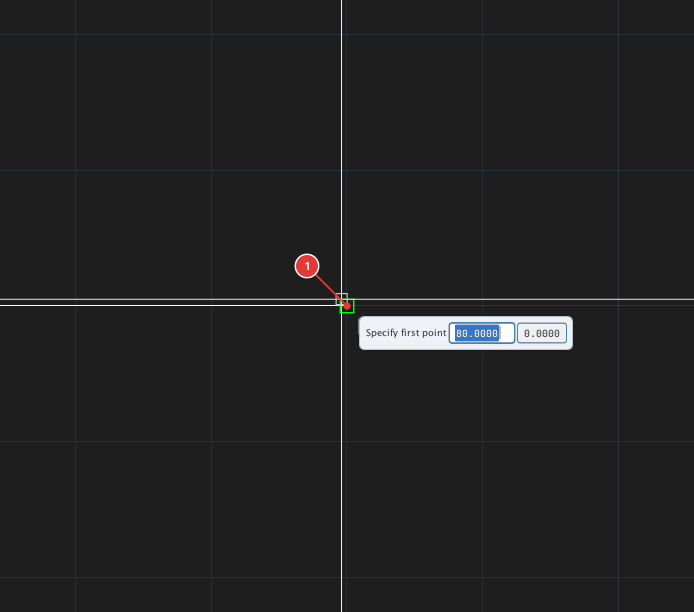
Midpoint (MID)
Marker: Triangle. The midpoint of a line, arc…
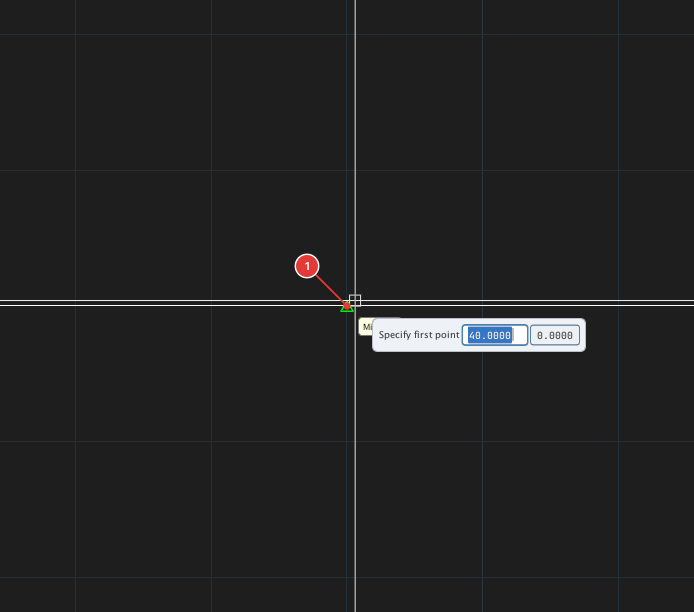
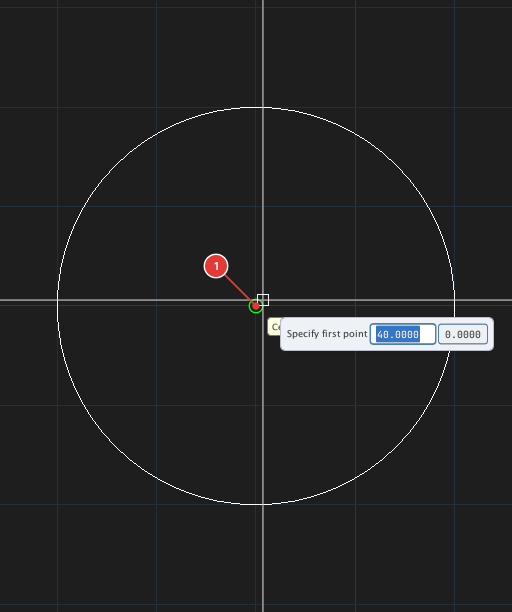
Center (CEN)
Marker: Circle. The centre of a circle, arc or ellipse.
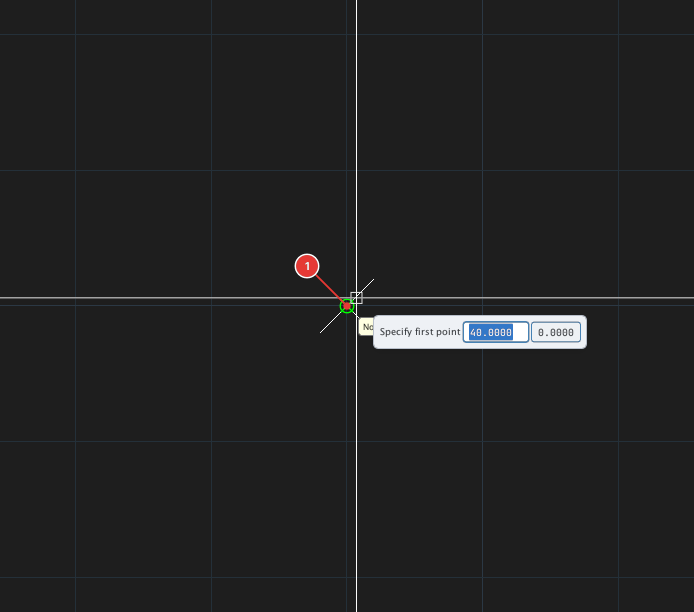
Node (NOD)
Marker: Circle with an X. Point objects (POINT, including those made by DIVIDE / MEASURE). Set PDMODE to see the points.
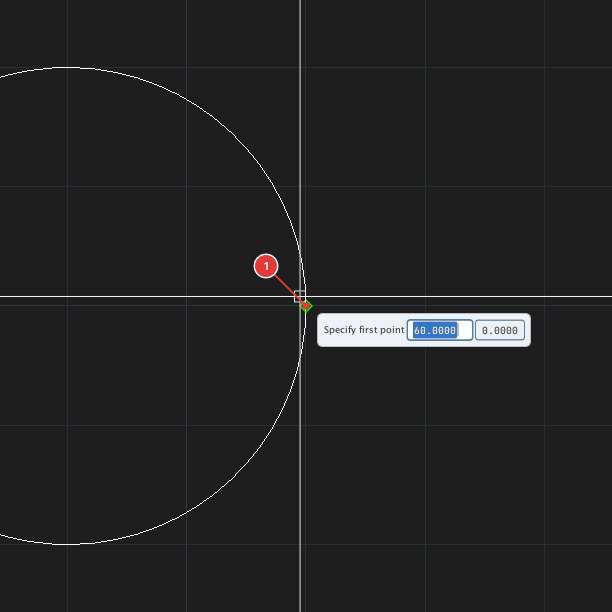
Quadrant (QUA)
Marker: Diamond. The four points at 0°, 90°, 180°, 270° of a circle / arc / ellipse.
Intersection (INT)
Marker: X. The crossing of two objects.
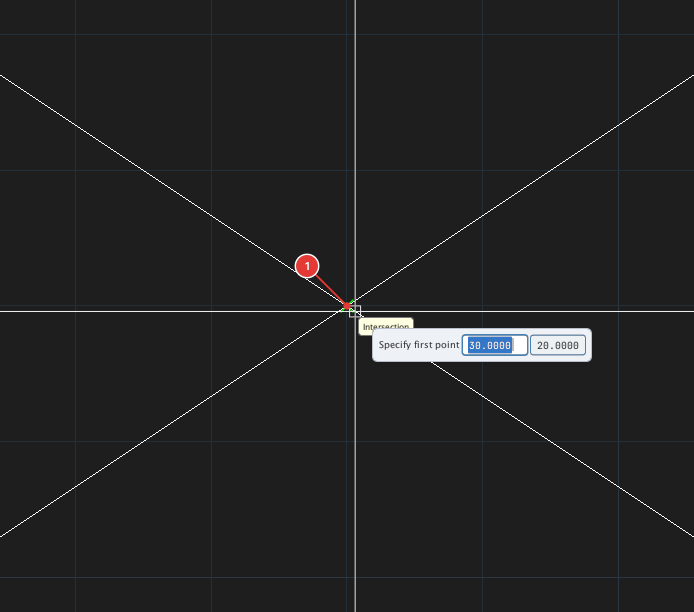
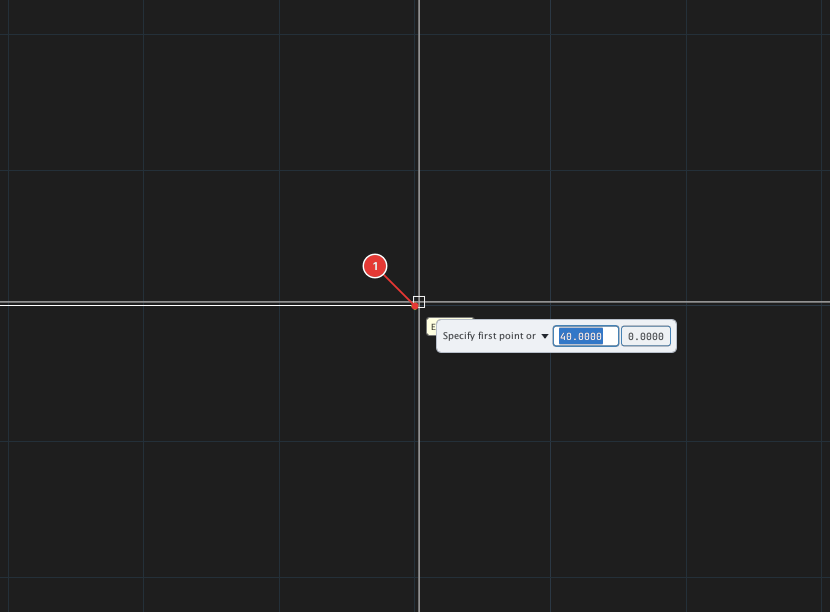
Extension (EXT)
Marker: Dashes. A point on the extension of an open object. Hover over the end point to acquire it, then slide along the extension.
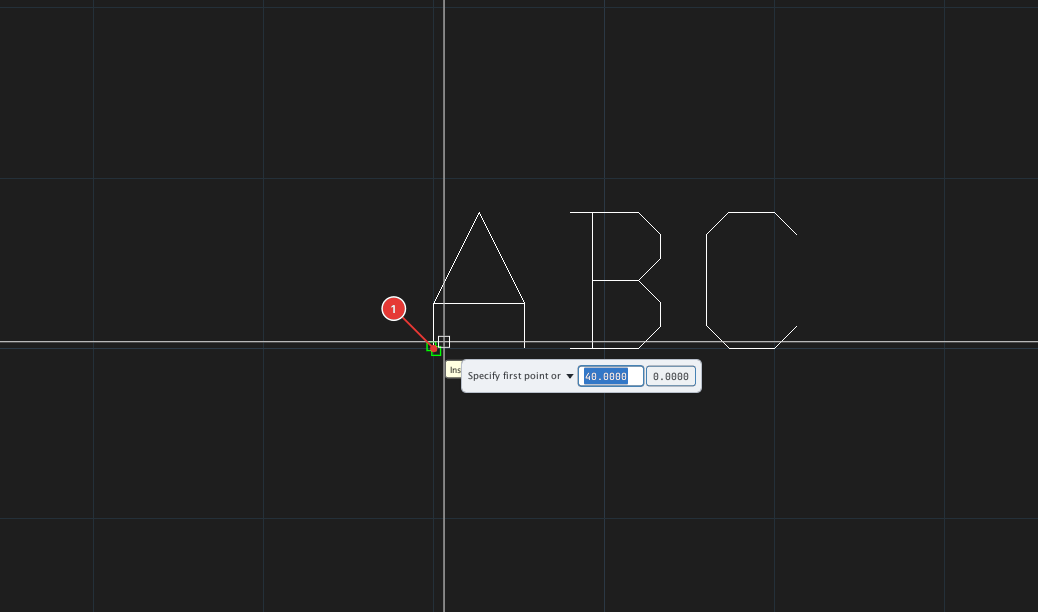
Insertion (INS)
Marker: Two overlapping squares. The insertion point of text, a block or an image.
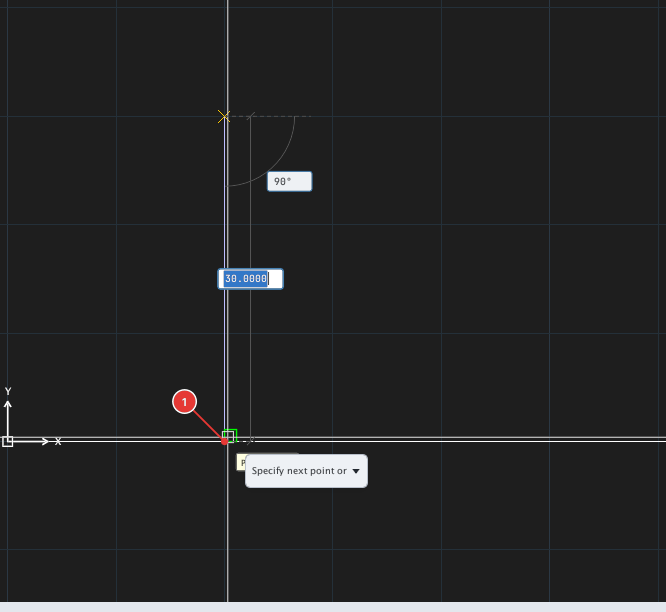
Perpendicular (PER)
Marker: Right angle. The foot of the perpendicular dropped from the previous point onto an object. Used from the second point on.
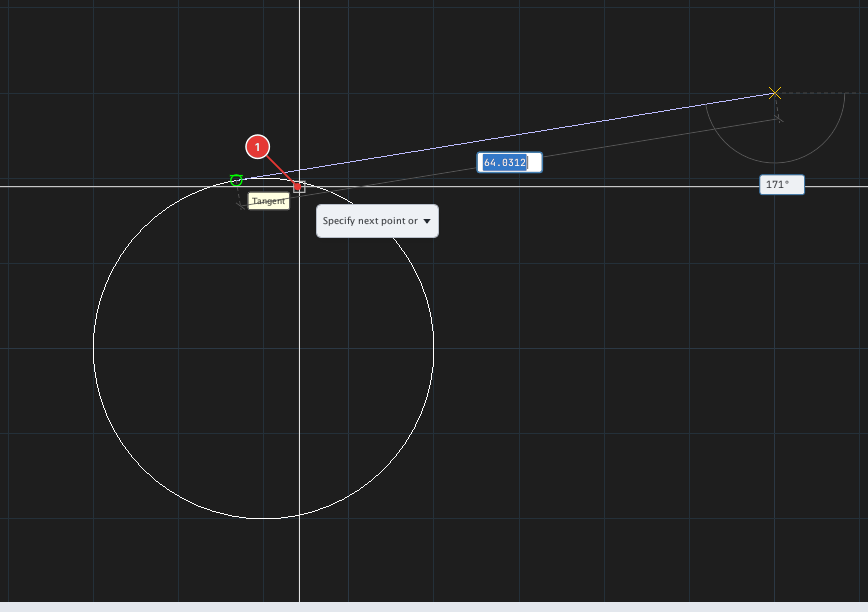
Tangent (TAN)
Marker: Circle with a tangent line. The tangent point on a circle / arc drawn from the previous point. Used from the second point on.
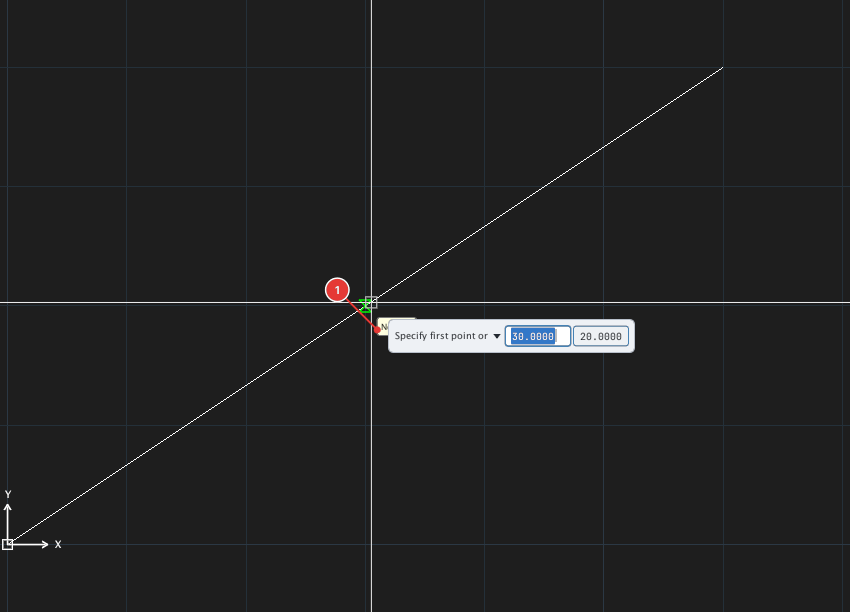
Nearest (NEA)
Marker: Hourglass. The point on an object nearest to the cursor — use when you only need "on the object".
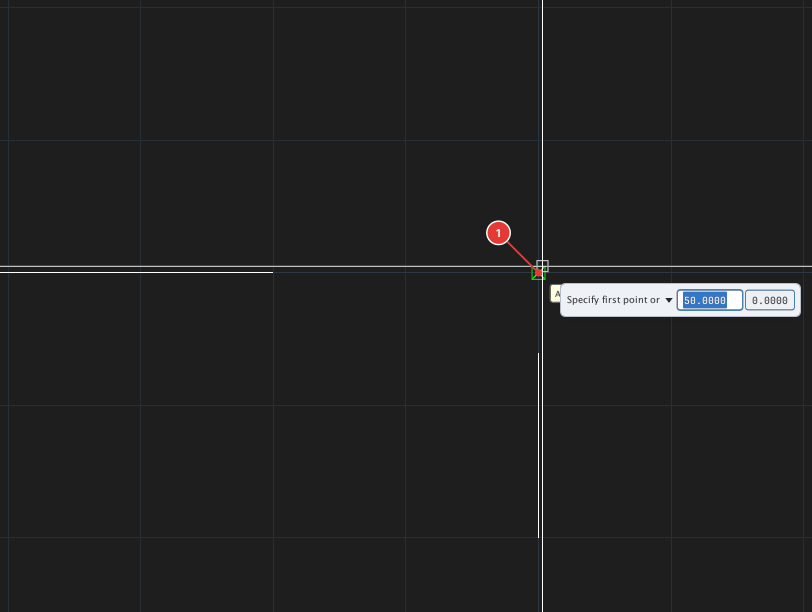
Apparent Intersection (APP)
Marker: X in a square. The crossing of two objects when they are extended (even if they do not touch).
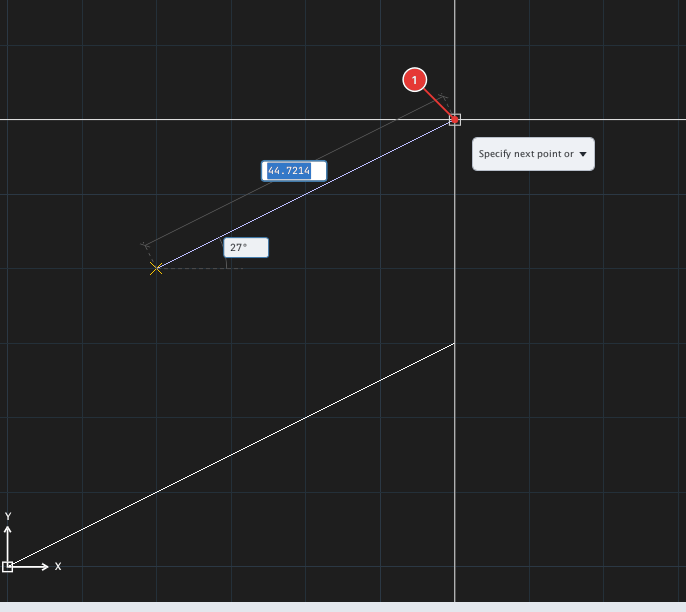
Parallel (PAR)
Marker: Two slashes. A point on the line through the previous point parallel to a straight object. Hover over the object to pick up its direction, then move.
When you type PER or TAN as a one-time override, just click the object: KufCad works out the perpendicular foot / tangent point, even if you click far from it.
With running object snaps, Perpendicular and Tangent snap only when the cursor is near the computed point — move until you see the marker, then click. Extension appears when you hover over an end point and then move along the extension (as in AutoCAD).
Turn on only the modes you really need: too many make the cursor snap to the wrong point in a dense drawing. Use temporary overrides for the rarely used modes (Tangent, Parallel, Apparent Intersection).
See also: "Object Snap Tracking", "FROM, M2P and the .X .Y filters".