Layout wizard — build a layout step by step
 Ribbon: Right-click a layout tab ▸ Create Layout wizard…Command:
LAYOUTWIZARD
The wizard asks in turn for a name, paper size, orientation, title block and how to place viewports, then builds the layout exactly as you chose. Use it when you need several identical layouts or want a title block from the start.
Open it with a right-click on a layout tab ▸ Create Layout wizard…, or type LAYOUTWIZARD.
The left column lists the six steps (the current one in bold); click Next > to move on, < Back to go back, Cancel to leave without creating anything.
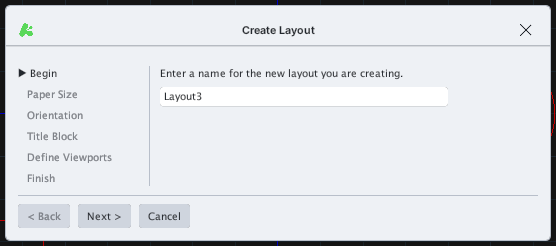
- Begin — name the layout. The suggested name is
Layoutplus the next number.
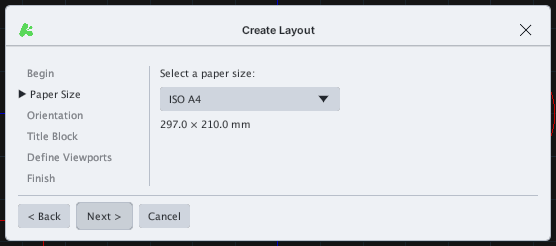
- Paper Size — pick a paper (ISO A4/A3/A2/A1/A0, ANSI A/B/C/D). The size in mm shows under the list.
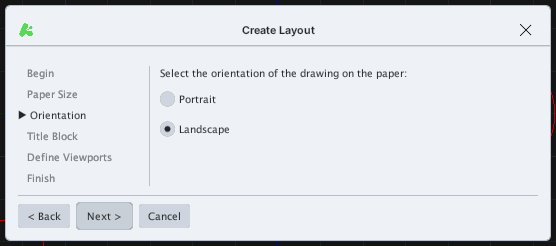
- Orientation — choose Portrait or Landscape paper.
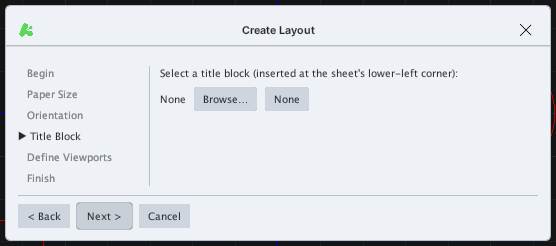
- Title Block — click Browse… to pick a
.dwg/.dxffile with the title block; it is inserted at the lower-left corner of the sheet. None = no title block.
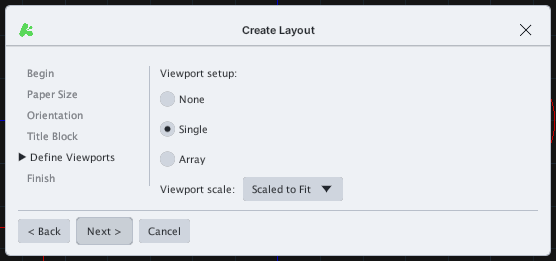
- Define Viewports — choose None (no viewport), Single (one viewport filling the sheet) or Array (a Rows × Columns grid). For Single and Array also choose the Viewport scale: Scaled to Fit or 1:1 … 1:200.
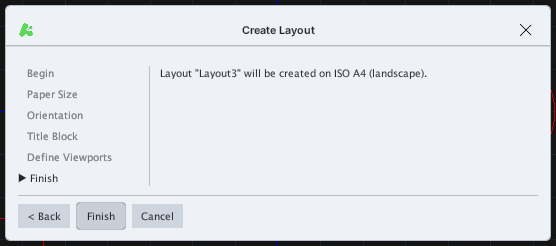
- Finish — a summary line with the layout name, paper size and orientation. Click Finish to build it.
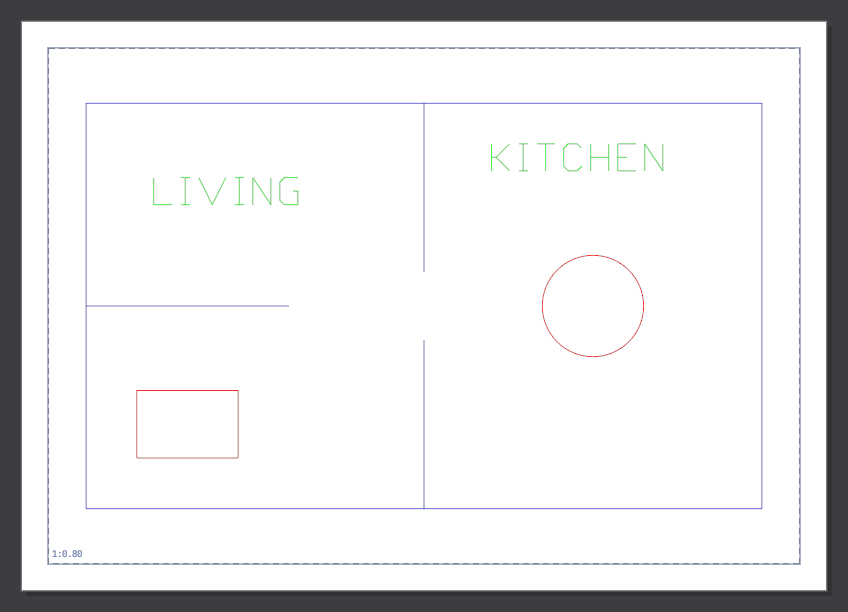
Choose None at step 5 and place viewports yourself with MVIEW when you want a custom arrangement.
To copy layouts from an existing drawing or template file: right-click a tab ▸ From template… or type LAYOUT T (see Layouts).